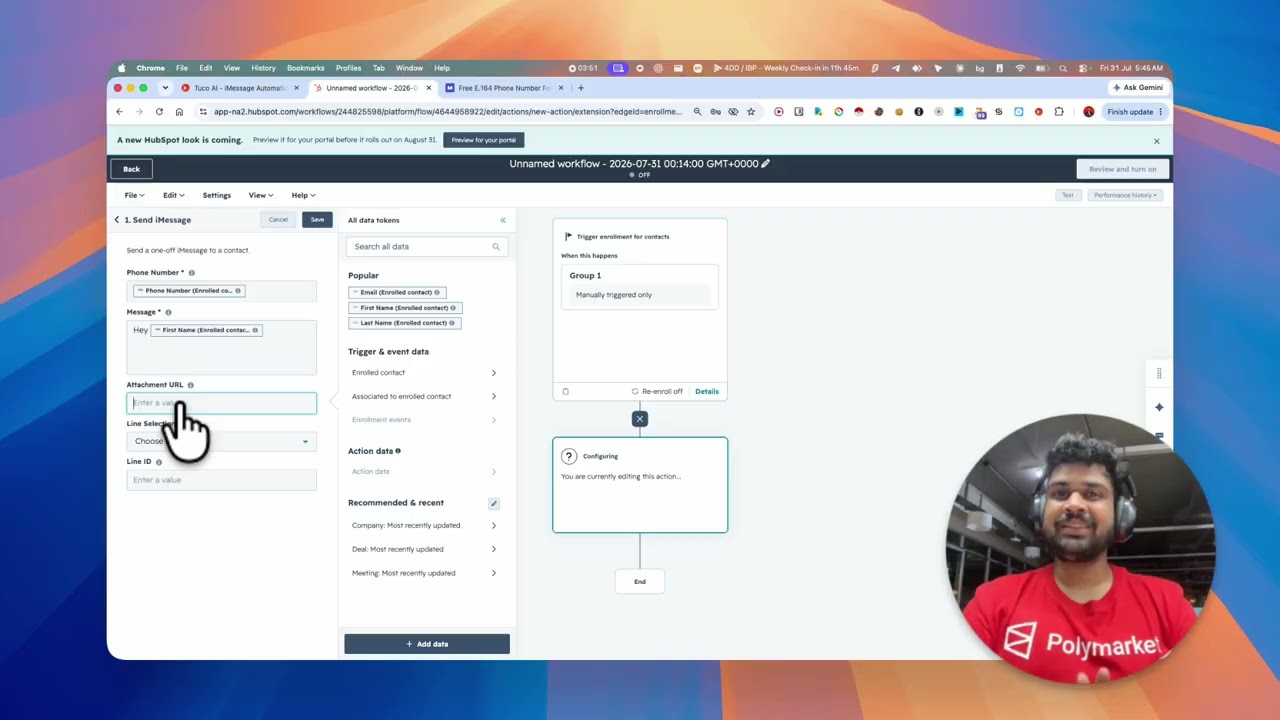
Set up Tuco with GoHighLevel: iMessage, voice notes, and SMS fallback
The standard, non-white-label GoHighLevel setup, start to finish. Connect the sub-account, build the branch, send the opener, follow up with a voice note, and fall back to SMS for the contacts who are not on iMessage. The last third is debugging — execution logs, activity logs, and why your test message silently did not arrive.
What you will be able to do
- Connect Tuco to one GoHighLevel sub-account with a PIT token and location ID
- Know why you copy the tuco_ key and click Install Lead Connector instead of Finish
- Branch a workflow on Check iMessage so non-iPhone contacts exit quietly
- Send a compliant first message and a voice-note follow-up
- Read execution logs and activity logs when a test send does not arrive
Chapters
Timestamps open YouTube at that moment. 18 sections across 13:43.
- 0:01
What you need before you start
Tuco credentials, admin access to the sub-account, and at least one provisioned line.
- 0:27
Integrations → CRM → Lead Connector
Lead Connector is the white-labeled name for GoHighLevel inside the Tuco dashboard.
- 0:44
Pick the provider type
Custom Conversation Provider is right for most people — unless you route through an external bot or appointment setter.
- 1:14
Create the private integration
Settings → Private Integrations in the sub-account, name it, select all scopes, create. The PIT token is shown once.
- 2:25
Location ID and check scopes
Settings → Business Profile for the location ID, then Check Scopes to confirm the two-way sync has what it needs.
- 3:06
Copy the key, do not click Finish
Clicking Finish leaves the integration half configured. Click Install Lead Connector and install one sub-account only.
- 4:13
Confirm in Installed Apps
App Marketplace → Installed Apps. Refresh until it appears; reinstall if it does not.
- 4:54
Start the workflow
Automations → Create Workflow → Start from Scratch, with a tag-added or contact-created trigger.
- 5:17
Check iMessage and branch
The Check iMessage action auto-fills contact.phone_raw; the If/Else branches on Available = true.
- 6:04
Send the first message
Plain text only — no links, no attachments, no voice note. Watch how the contact name renders as a contact card.
- 6:56
Sending line and Skip If Replied
Paste the line ID when a workspace has several lines. Leave Skip If Replied blank on the opener, true on follow-ups.
- 7:41
Wait, then send the voice note
Voice notes are blocked on new conversations and allowed on follow-ups. One minute in the demo, an hour in practice.
- 8:55
Getting a public MP3 URL
Leads → Upload Audio, or your own host — as long as the URL plays in incognito. YouTube and Loom links do not work.
- 9:56
The voice-note toggle
Leave it true so the message renders as an Apple waveform rather than a file attachment.
- 10:17
Test and read execution logs
Run the test, then follow the path each contact took through the branch.
- 11:09
Why your second test never arrived
Identical messages to the same contact are deduplicated. Change the wording between runs, and check activity logs.
- 11:40
Replies in Conversations
Replies land in the normal GoHighLevel inbox; switch channels in the composer to answer over iMessage.
- 12:22
SMS on the false branch
Contacts without iMessage get a plain SMS instead, so nobody silently drops out of the sequence.